In this section, we will show how to:
- Add widgets to a dashboard
- Add reports to a dashboard
- Change the layout of your dashboard
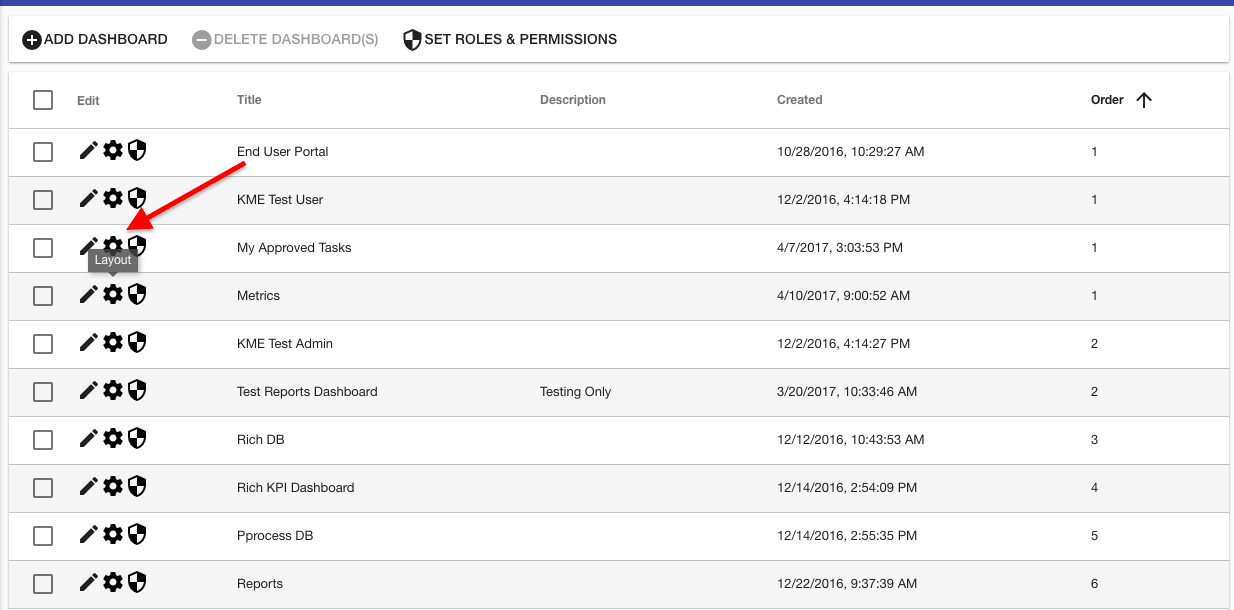
To configure what is displayed on a Dashboard, select the ‘Layout’ icon to open the tab:
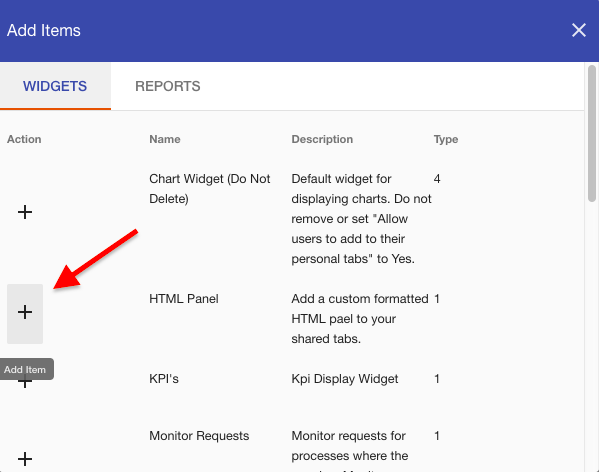
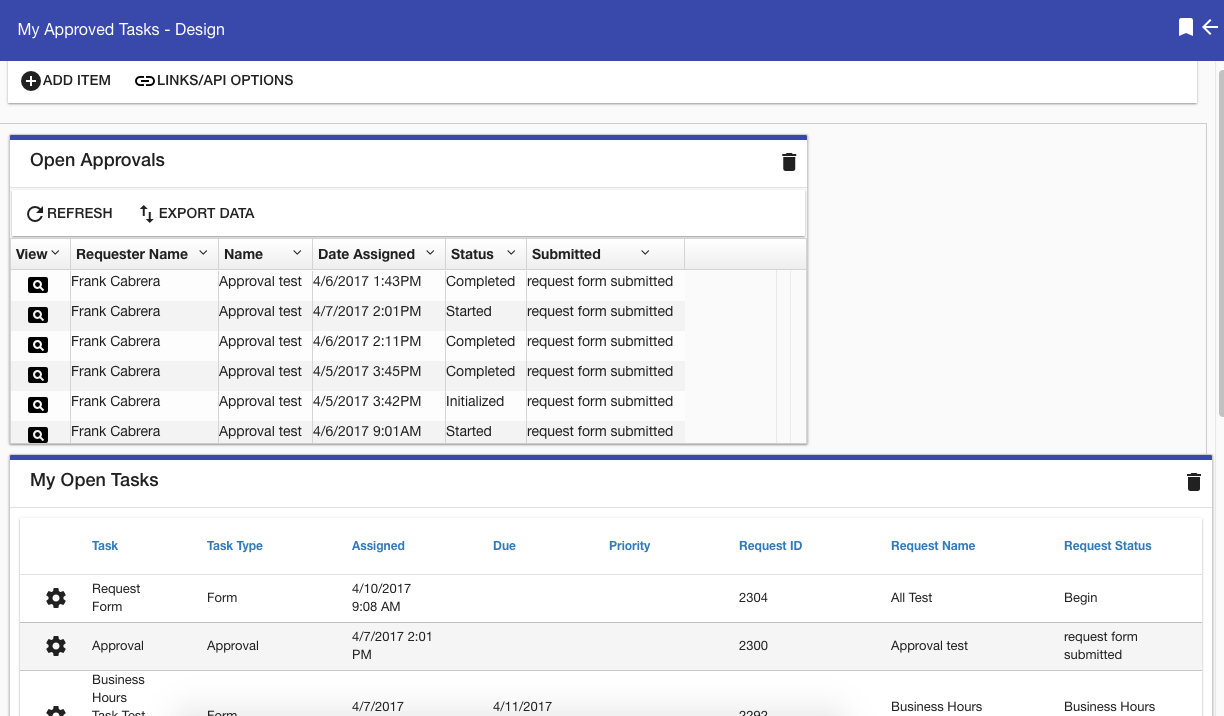
You can now add items to the Dashboard by selecting the Add Item icon within your dashboard and then selecting either ‘Widgets’ or 'Reports'. Once you add the item the change is saved (there is no Save button). You may need to log out for the the changes to be reflected.
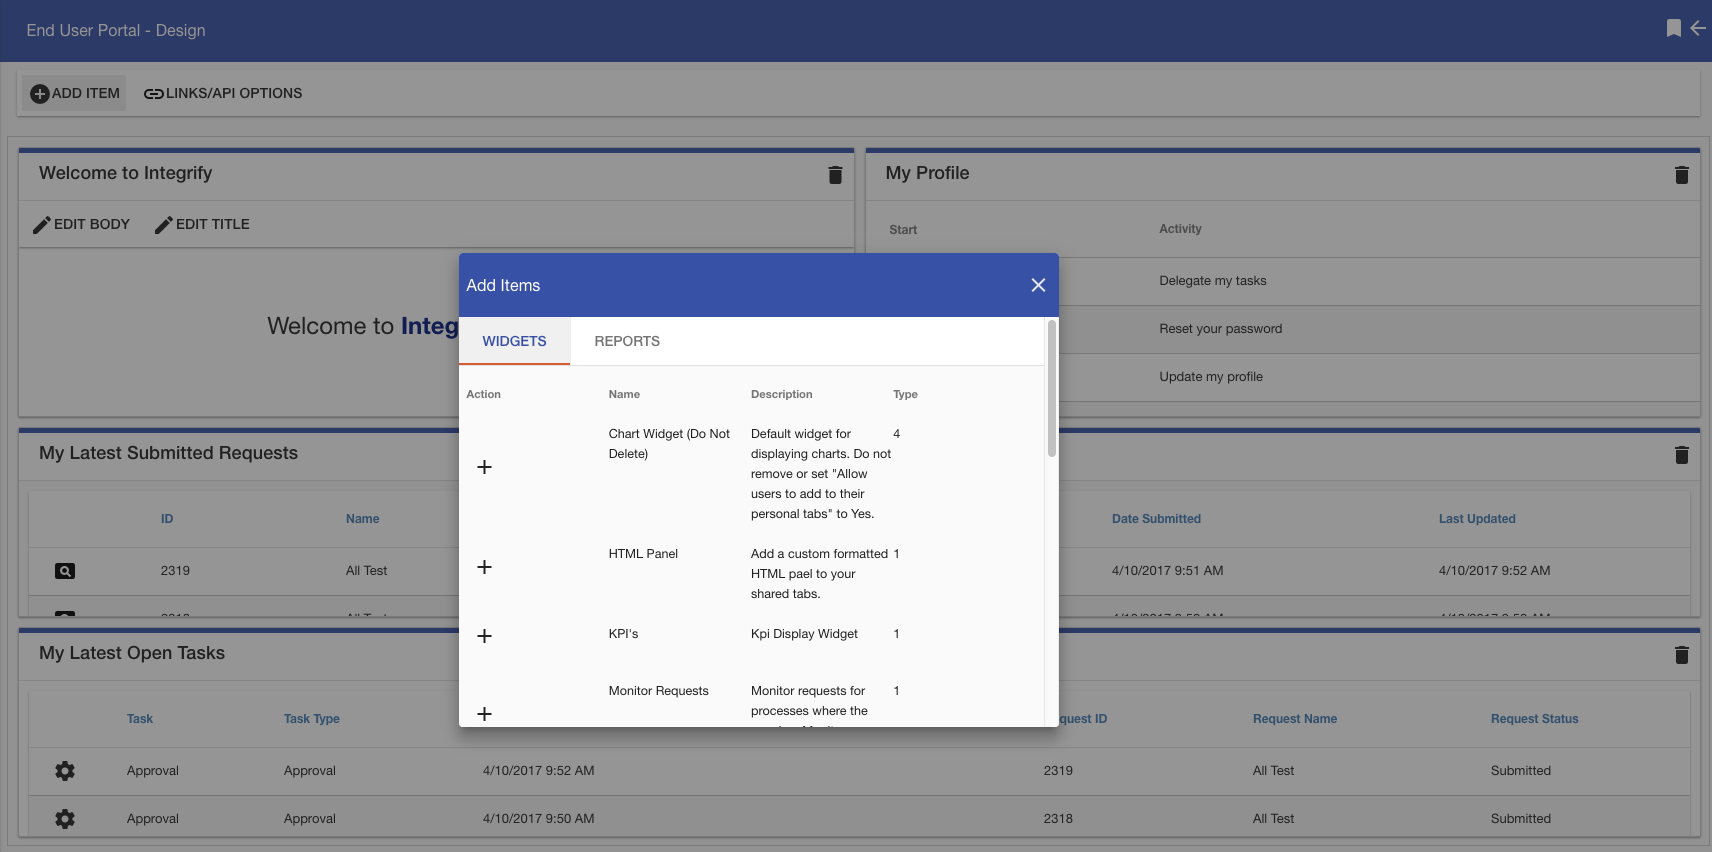
Adding a Widget to a Dashboard
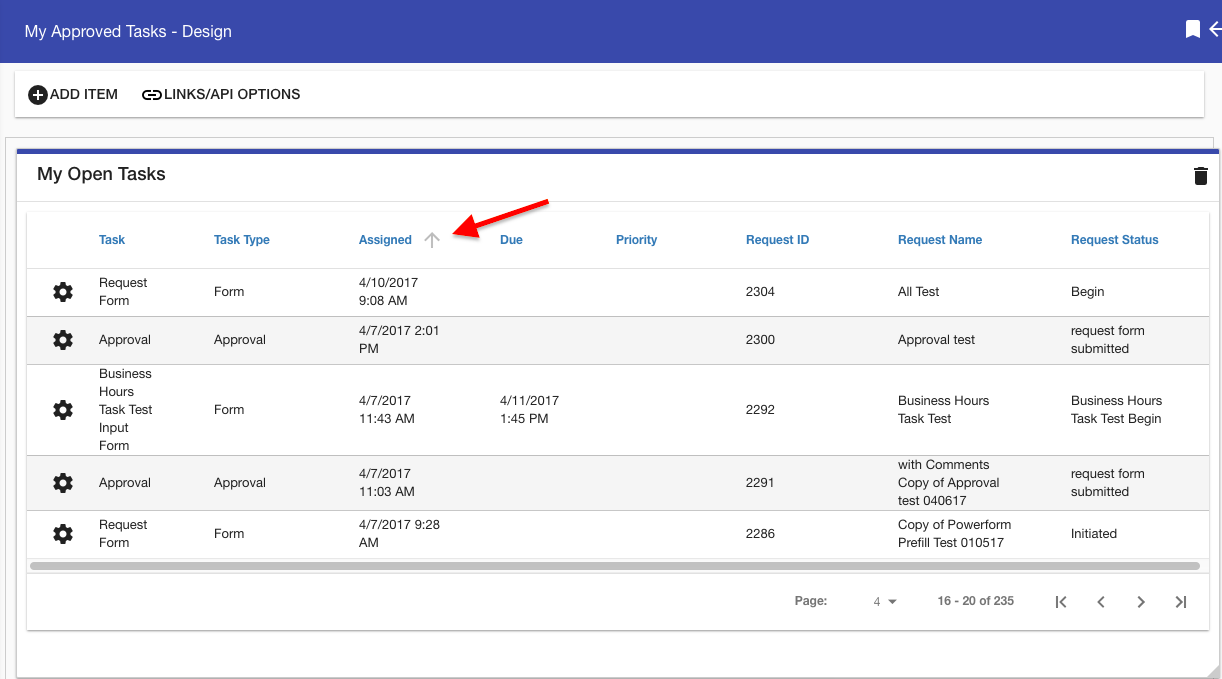
Select Add widget to add widgets from the Widgets Library to the Dashboard:
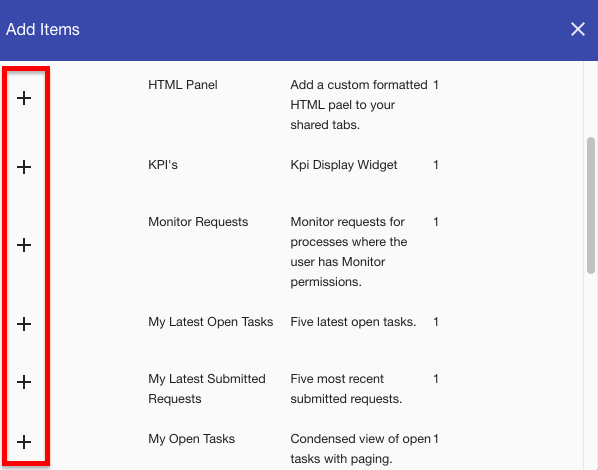
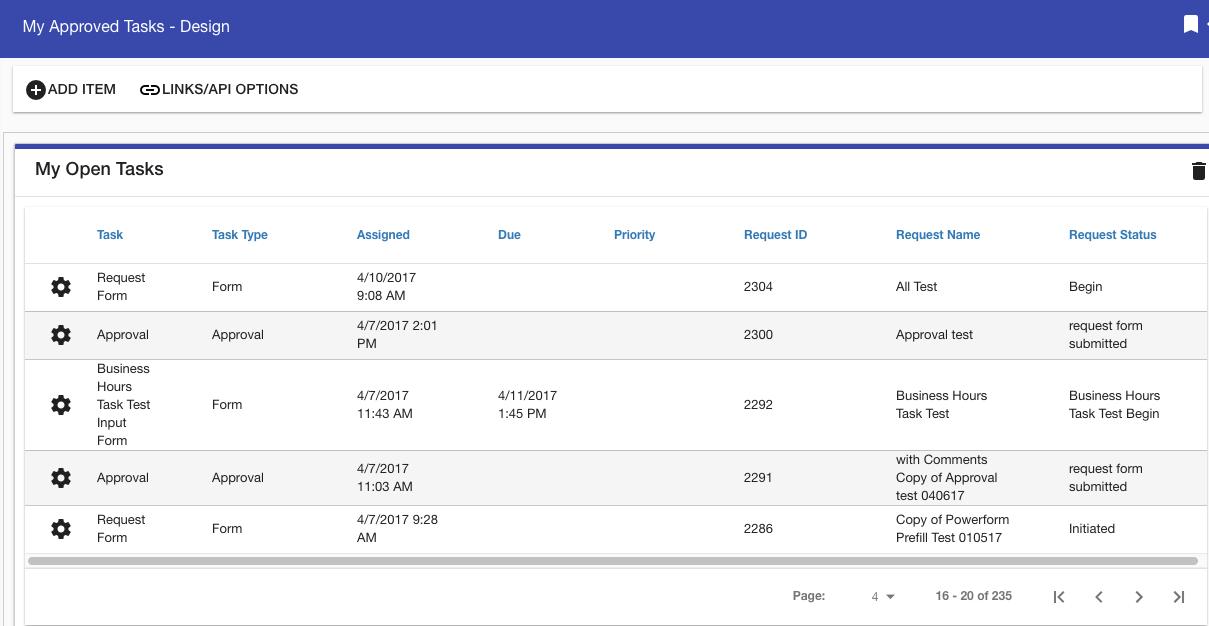
In this example, we’ll add the Open Tasks widget:
You can also save filters for the widgets that display within the tab. (Note: Pre-defined filters that are saved by the administrator in a dashboard can not be changed by the users or groups that the dashboard is assigned to.)
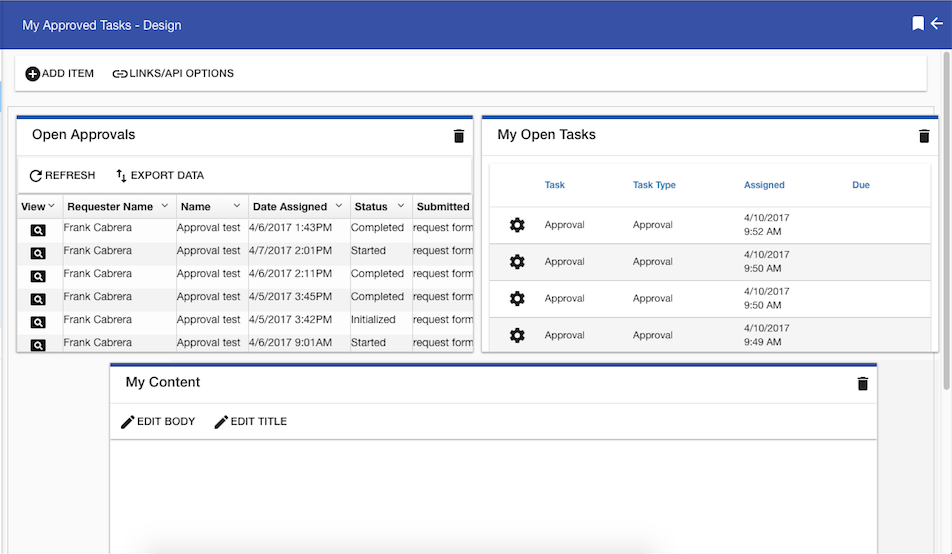
Adding an HTML Widget to Your Dashboard
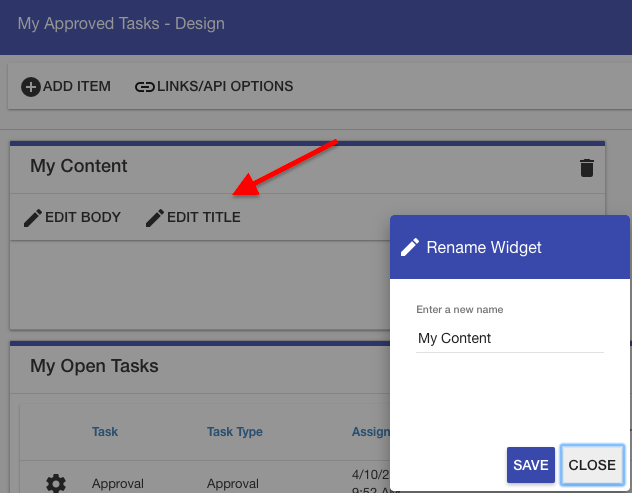
Sometimes you might want to add informational widgets to your dashboards. These can be used for announcements, help text or anything else you might want to communicate to a user. To do this, add an HTML Panel widget.
Once you've added the HTML Panel widget, click on the "EDIT TITLE" header to customize the content.
Adding a Report to a Dashboard
Select Add report to dashboard to add reports from the Reports Library to the Dashboard:
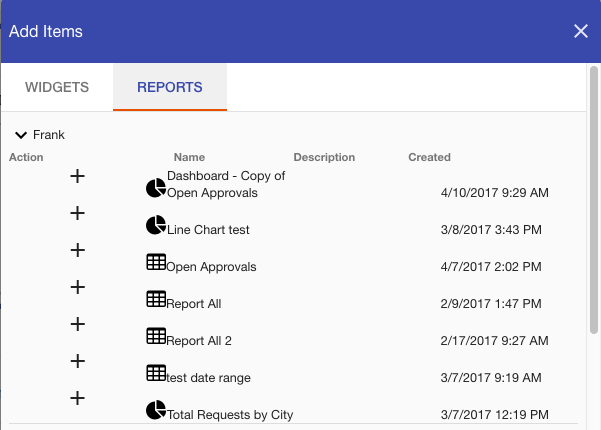
As you can see, the report you selected will appear in your Dashboard:
Changing the Layout of your Dashboard
You can optionally change the dashboard's layout by simply resizing and arranging the objects by dragging and dropping them where desired.
Comments
0 comments
Please sign in to leave a comment.