The instructions below will walk you through installing or updating the Integrify OnPremise Manager. The OnPremise Manager allows you to manage the installation, configuration, and maintenance of your Integrify application. Please review the pre-requisite document to assure that your server is prepared for the installation and is a success.
- First, you will need to download the OnPremise Manager installer. You can click the following link to get to the Release notes page where all releases of version 7 are downloadable by clicking the version you wish to install. We always recommend the latest.
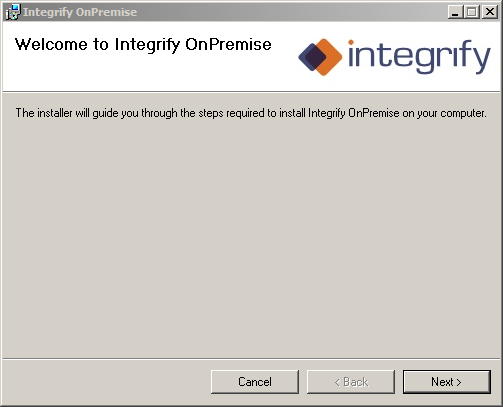
Release Notes - With the pre-requisites installed, and the installer downloaded onto your application server, you are ready to install or update the OnPremise Manager. Double-click the downloaded installer to begin.
- Click 'Next >' to continue.
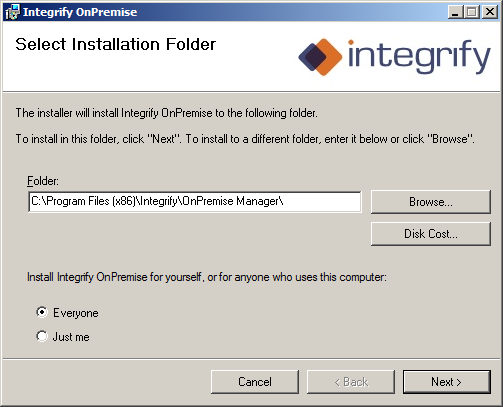
- If this is the first time you are installing the OnPremise Manager, you can change the folder. Be aware that this is not the location of where the Integrify application itself will be installed, only the OnPremise Manager. If you do change the location in this box, make a note of it. You will need to install future releases to the same location. If you are updating your installation, make sure you browse to the location you initially installed the OnPremise Manager. Select Everyone and click 'Next >'.
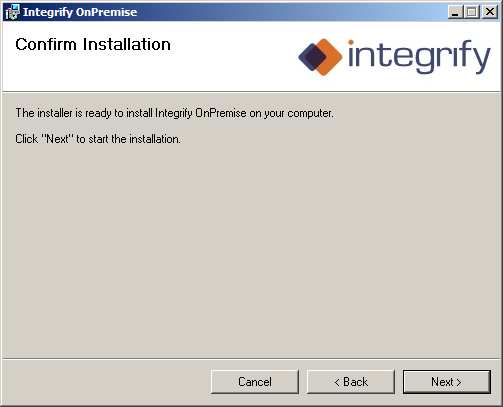
- Click 'Next >' to Continue with the installer installation.
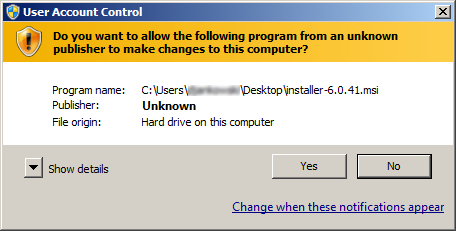
- Depending on your security setup, you may be prompted at this point to allow the installer to make changes to your system.
- At this point the installation will begin.
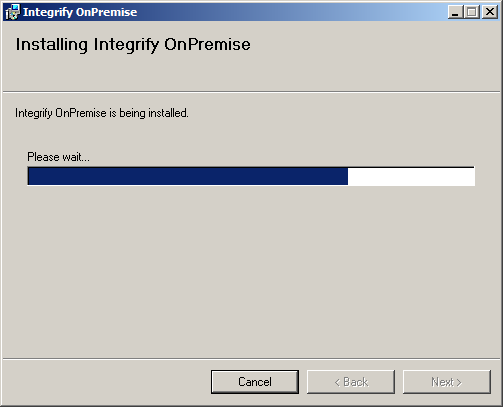
- After a short period of time, the installation will complete. Click ''Close' to exit the setup.
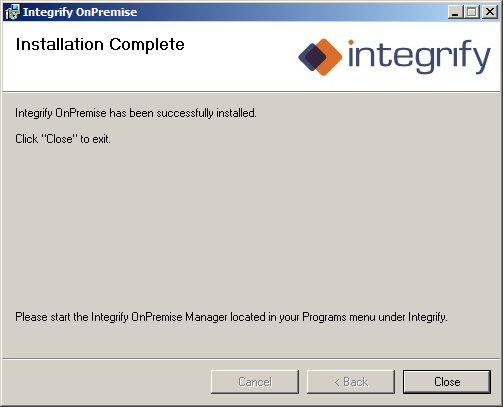
- You can now run the OnPremise Manager by following these instructions: Running the Integrify OnPremise Manager
Comments
0 comments
Article is closed for comments.