This document will step you through updating your Integrify database schema after you have installed a new instance, or updated the application. You should always check if there are any schema updates after you update Integrify to ensure proper functionality.
- First follow the instructions to start the Integrify OnPremise Manager here: Running the Integrify OnPremise Manager
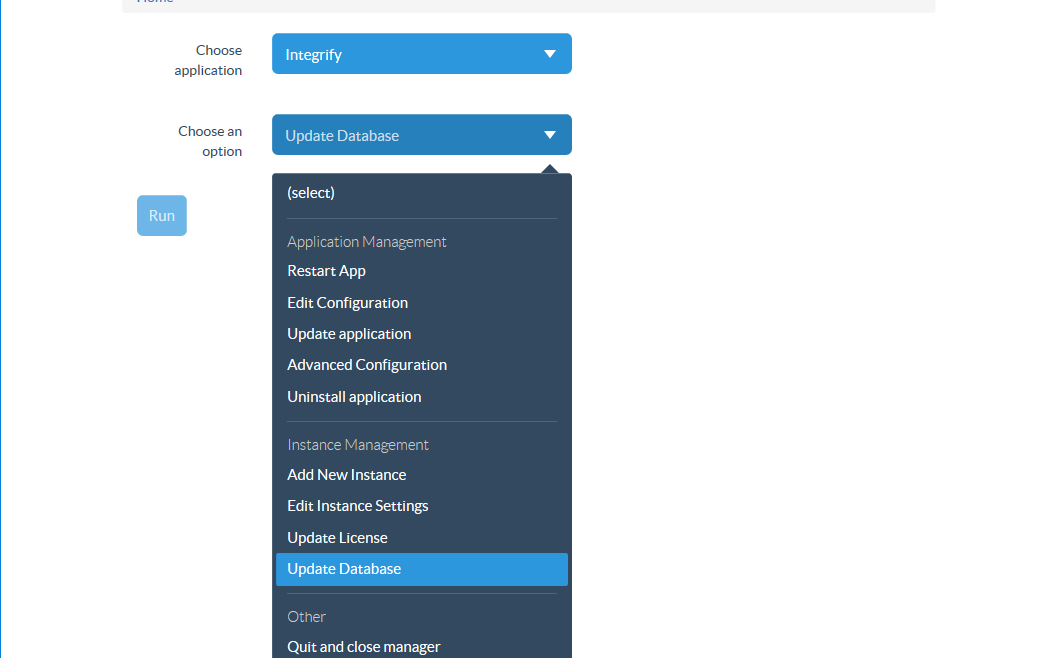
- Once you are logged into the OnPremise Manager, select the application containing the database you wish to update in the 'Choose application' drop-down, then select 'Update Database' in the 'Choose an option' drop-down.

- A new 'Confirm Instance' drop-down will appear. Choose the instance who's database you wish to update and click the 'Run' button.
-
You should see a dialog similar to the below. The scripts must be run in order from the top down in order to properly update your database schema, so it is recommended to execute them one at a time. Do not be afraid if there are no updates. This just means your schema is already up to date.

- Click the checkbox next to the first script and click the 'Execute Selected Scripts' button. Wait for the pop up to display 'Operation Complete' prior to closing the window. Note that some script may take a long time to run. Once the script has completed successfully it will disappear from the list, and you can repeat this step until there are no remaining scripts to execute.
If any errors are reported, please contact the support team by submitting a Help Request on the Integrify Support site and attach a screen shot of the error message, and which script was executed. Do not proceed to the next script.
You schema is now up to date with the latest fixes and enhancements. It is a good idea to performa 'Restart Application' form the 'Choose an option' to make sure all changes take effect.
Comments
0 comments
Please sign in to leave a comment.