This document will walk you through creating and installing a new Integrify setup on your server using the OnPremise Manager. Please review the pre-requisites document to assure your installation is a success.
- This document assumes that you have already installed the Integrify OnPremise Manager on your server. If you have not, please follow these instructions to obtain and install the OnPremise Manager: Installing / Updating the OnPremise Manager .
- On your database server, you will need a blank database for Integrify to use. You will also need the database server name, the database name, the account username, and password during the installation.
You will need to use a a SQL Authentication user account that has dbo rights to the database. The OnPremise Manager does not support Windows based authentication accounts. DBO/db_owner rights are needed so that the installer can create the Integrify database schema during the installation. - The Integrify application ties in closely with the host name you use during configuration. If you have not done so yet, make sure you have completely defined the fully qualified host name that you will use to access this Integrify installation (e.g. integrify.company.com) in your external and internal DNS systems..
- If you plan on utilizing https and SSL for this installation of Integrify, you must have a valid certificate installed in IIS. Valid SSL certificates should be registered with the fully qualified domain name you will be using for Integrify (e.g. integrify.company.com), or a wildcard certificate for your domain (e.g. *.company.com). You should install this certificate in IIS prior to performing the steps in this document.
- When you have met all the pre-requisites for your installation, you can run the OnPremise Manager on your server by following the instructions found here: Running the Integrify OnPremise Manager and return to this document.
- First we need to configure the application prior to installing it. from the Application drop down, select (Add New), and click 'Run'.

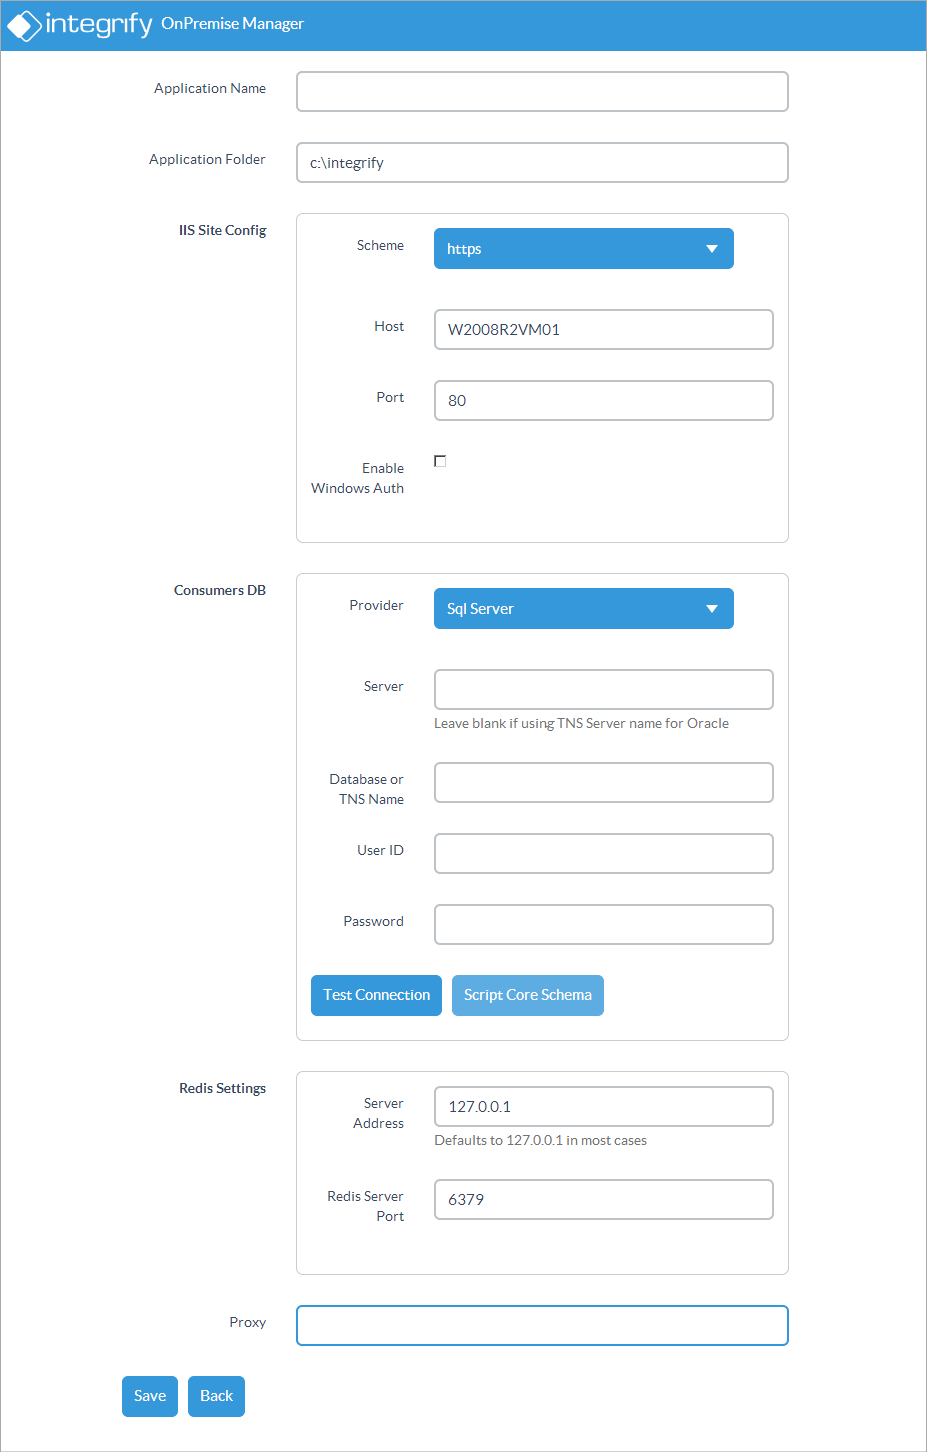
- You will be presented with a new screen to configure the application. See below for descriptions of each option and how they are used.
-
Application Name
- At this dialog you are simply entering the name of the site as it will appear in IIS. Type the name you prefer (e.g. Integrify)
- At this dialog you are simply entering the name of the site as it will appear in IIS. Type the name you prefer (e.g. Integrify)
-
Application Folder
- This is that actual location the Integrify suite will be installed. All files for the IIS site, Windows Services, among other necessary files will be installed here (e.g. C:\integrify).
- This is that actual location the Integrify suite will be installed. All files for the IIS site, Windows Services, among other necessary files will be installed here (e.g. C:\integrify).
-
IIS Site Config
- Scheme - Select https in this drop-down if you have installed a valid SSL certificate on the server (see step 4) and wish to utilize it for this Integrify site. If you do not need to utilize secure sockets on the site, select http.
- Host - Here you should type the fully qualified domain name (see step 3) that will be used to access your site (e.g. integrify.mycompany.com).
- Port - This setting is rarely changed. Even when utilizing https and ssl on your site, we force a redirect of http traffic to https traffic, which will utilize this port, so do not change it to 443. Please consult with the Integrify Support team if you think you need to change this option.
- Enable Windows Auth - Even if you want to utilize windows authentication with Integrify, you are going to want to leave this unchecked if this is a new installation of Integrify. Because Integrfiy tries to match a windows user to an internal Integrify user upon passing of the credentials, and since there will be no users in Integrify upon completion of a new installation, you will essentially be locked out of Integrify.
- Scheme - Select https in this drop-down if you have installed a valid SSL certificate on the server (see step 4) and wish to utilize it for this Integrify site. If you do not need to utilize secure sockets on the site, select http.
-
Consumers DB
- Provider - Select the database backend you will be using for the consumers database (Only SQL Server is supported).
- Server and Database or TNS Name
Server - Type the name of your database server that Integrify will connect to. Do not forget to use the proper format if you are running SQL instances (e.g. servername\instancename)
Database or TNS Name - Type the name of the database that you setup for Integrify's use - User ID - .Type the user account you setup earlier that has database owner rights to the database.
- Password - Type the password credentials for the user.
- Provider - Select the database backend you will be using for the consumers database (Only SQL Server is supported).
-
Redis Settings
- It is best to leave the first two settings alone unless you know that the settings conflict with another service on your server.
- You MUST fill in a password (not pictured)
- It is best to leave the first two settings alone unless you know that the settings conflict with another service on your server.
-
Proxy (this is a legacy option, and is no longer useful in v7)
- If your server requires the use of a proxy to access the internet, enter the address of that proxy here. Otherwise, leave the entry blank.
- If your server requires the use of a proxy to access the internet, enter the address of that proxy here. Otherwise, leave the entry blank.
-
- Once this configuration satisfies your environment, click 'Test Connection' in the Consumers DB section. If your configuration is solid, you should see the following popup. If you receive an error, double check your Consumers DB settings, and try again. If you still receive and error, contact the Integrify Support Team.
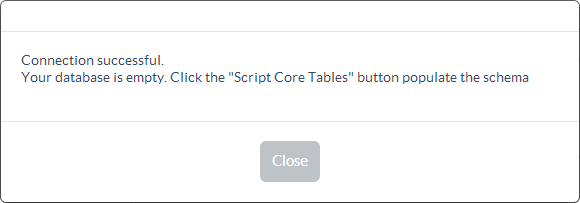
- You have no confirmed proper communication between the application server and the database server you have configured for Integrify's use. If you were instructed to do so in the pop-up window from the last step, click the 'Script Core Tables' button to insert the necessary schema into your Integrify Database. When Scripting complete is displayed in the Console pop-up, click 'Close'.
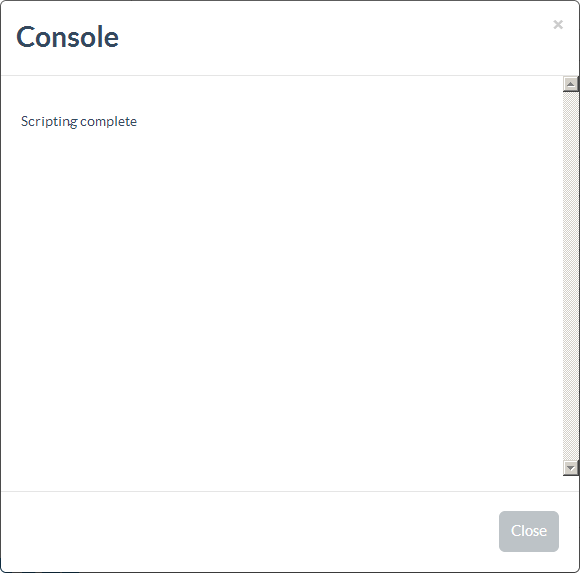
- At This point we should have a fully configured application and a database schema waiting to be filled with your license and instance information. Click 'Save' .

- Click 'Back' to return to the home page of the Integrify OnPremise Manager.
- With a fully configured application, we can now perform the actual installation. Installing the application takes care of creating a site in IIS, properly configuring it, as well as installing Windows based services that Integrify needs for complete functionality. From the 'Choose application', drop-down select the Application you configured in the previous steps. This will populate the proper options for the 'Choose an option' drop-down. In the 'Choose an option' drop-down, select the 'Install Application' option, and click 'Run'.
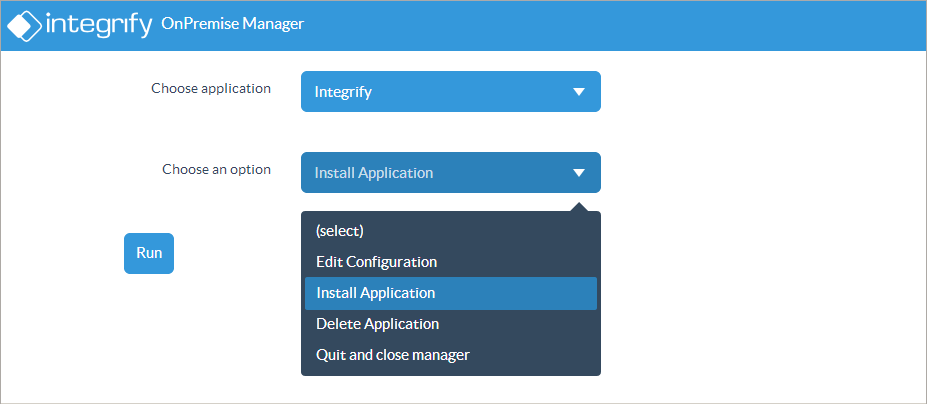
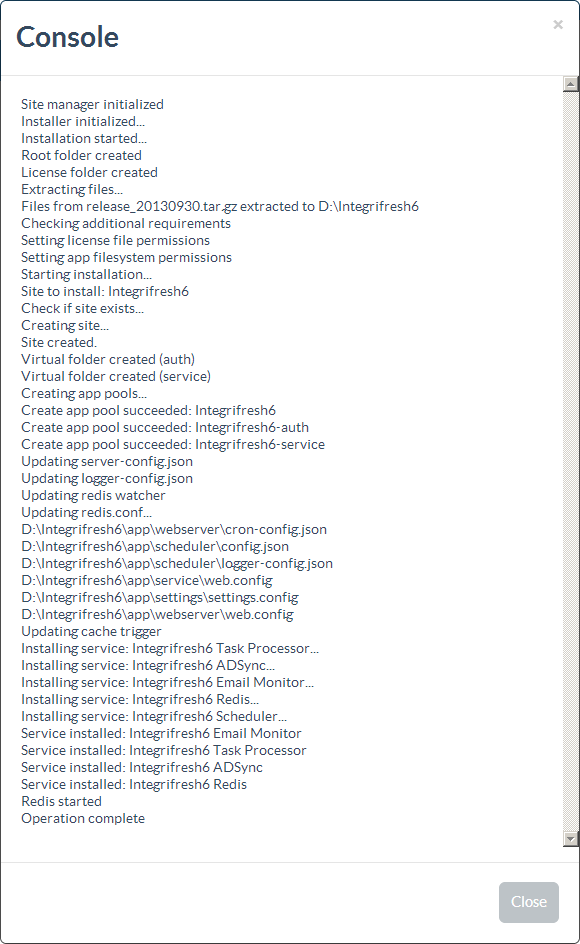
- A Console pop-up will be displayed that updates you as the installation occurs. Be patient as the installation may take a few minutes. Once 'Operation complete' is display at the bottom of the Console window, click 'Close'. If any errors are displayed in the Console window, contact the Integrify Support Team for assistance.
- You now have an installation of Integrify that is ready to be populated with your license and instance configuration. To configure and seat your license and instance follow the directions in this document: Adding a Licensed Instance with the OnPremise Manager
Comments
0 comments
Please sign in to leave a comment.